Marking your errors

When we weave, we sometimes have errors. Sleying and threading errors need to be corrected before weaving begins in order to produce a high quality fabric, but what about the errors that happen during weaving?
The occasional skip, knots in the warp or weft, and warp ends that break during weaving are just a few examples of what can go amiss while weaving.

Now I will not tell you that you MUST correct an error, because honestly, that is a personal decision that you should make based on your own feelings, and goals for the fabric that you are weaving.
Personally, I almost always correct these errors, because it makes me happy to do so, and it results in good cloth that I am proud of.
I find it easier to fix this type or mistake after the fabric is off the loom, but before I wet finish it. This gives me the ability to find the best available light source, and manipulate the web (unfinished fabric) with my hands, and I find that this makes weaving repair threads into the web easier.
FINDING the errors after the web is off the loom can be….challenging, particularly if the yarns used are dark, or the pattern is complex.
Here is my “cheat”, that makes finding the place where repairs are needed easier.
I am using images of a knot in the warp in this case, but the following method can be used for ANY error that you want to mark for repair at a later time.
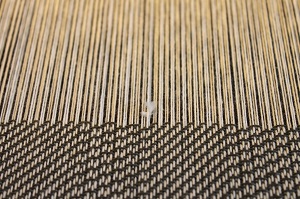
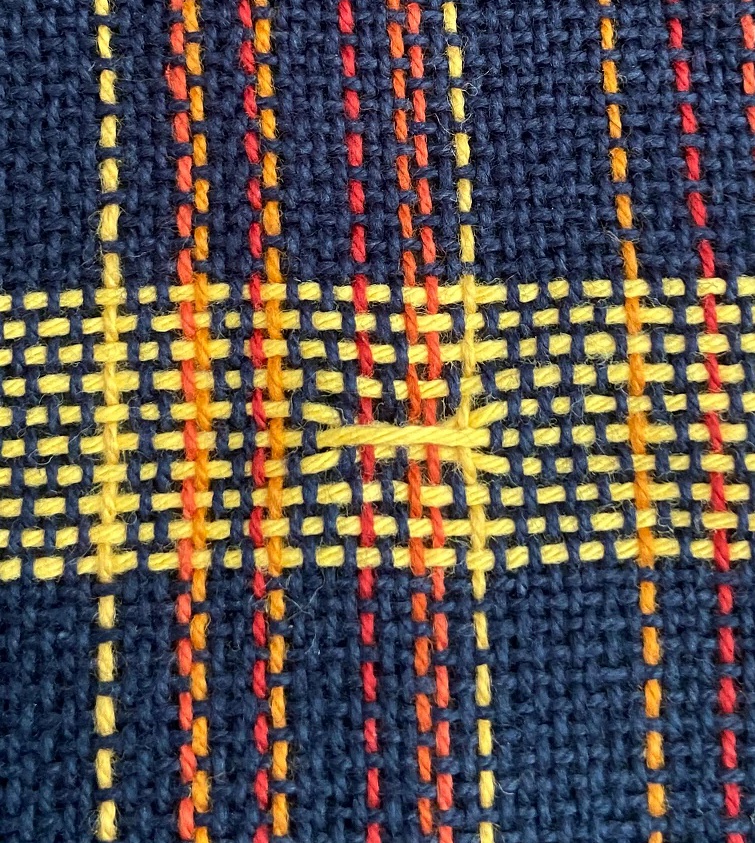
Here you can see that I have a knot in my warp, and I have woven over it. Depending on the situation, this might be a doubled end, or a skip that I notice later on, but the important point here is that there is something that needs to be corrected off the loom.
When I am weaving, I am sure to keep a needle (I prefer Chibi brand Bent tip needles, but use what works for you) threaded with a yarn that is the same or lighter weight than the weft, threaded with a color that contrasts with the piece that is being woven. Yellow, red, and orange are favorite choices for much of my weaving.
Once I am a few weft picks past the error (or I notice it, in the case of a skip), I will grab my “marker needle”. I pick up a few threads very close to the error.
Pull the marking thread through, leaving a tail that is approximately 1.5” \ 4cm long sticking out. Then take another stitch in roughly the same spot. Perfect stitches are NOT required here, you are simply aiming to anchor the marking thread.
Pull the second stitch until it is snug around the warp threads, then trim the thread between the stitch and the needle to roughly the same length as the other end.
This little stitch will stay in place until you are ready to remove it.
I generally have a marking thread that is 12”-16” long when I start weaving, which allows me to mark several errors without rethreading the needle each time. Put the needle aside, and continue weaving until you are finished weaving, or need to mark another error.
When you are finished weaving, take the web off the loom, and find a comfortable place to inspect your weaving.
When you see a marker threach, simply slide a blunt needle under that stitch, and you can easily pull it out, allowing you to make the necessary repair without extra threads in your way.
We will talk about repairing your errors another time, but for now, you have an easy way to find any errors that need repair.


